


TLDR
A standard roof replacement should take one day, start with a permit pulled by the contractor, and end with a lien waiver and warranty documentation in your hands. Here’s every step in between and what to watch for at each one.
Most homeowners have never watched a roof get replaced. That’s understandable, it’s not something that happens often. But knowing what the process should look like is the only way to know whether it is. A well-run replacement is mostly uneventful. The problems homeowners run into almost always trace back to a step that got skipped.
What Should Happen at the Initial Consultation?
A contractor should ask questions before anything else. The goal is to understand your situation, not just your roof. Are you staying in the home or selling? Any comfort issues or past leaks? Any work planned in the next few years that might affect what makes sense now? The answers shape what options actually make sense for you.
From there, the contractor inspects the roof and walks you through what they found. That means telling you what’s included in the price and what isn’t, explaining the difference between a manufacturer material warranty and a workmanship warranty, and being honest about whether a repair might still be a reasonable path versus a full replacement.
If you want to build a realistic price baseline before any of these conversations happen, our Instant Roof Estimator and Roof Price Guide give you a solid starting point. Our Roof Selector Quiz helps identify the right material for your situation in about two minutes.
How Should Material Selection and Pricing Work?
Once you know what the roof needs, the next step is understanding your options and settling on a scope and price. A contractor worth working with presents options clearly, not upsells, just options, so you understand what’s available and can make the decision that fits your home and your budget.
The scope should be in writing before you sign. Every material being installed, every labor component included, what would trigger a change in price, and how surprises are handled mid-project. A real number tied to a real scope. The per-sheet replacement cost for decking, if any is found during tear-off, should also be established in the contract before work begins. That number belongs in the contract before the project starts.
Who Pulls the Permit, and What Should Scheduling Look Like?
The contractor pulls the permit. Not you. If a contractor suggests skipping it or asks you to handle it, that’s worth noting. Permits create an inspection record for the work done on your home.
Most Denver metro projects get scheduled within one to three weeks of signing. Mountain projects may take longer depending on access and weather.
What Should I Do Before the Crew Arrives?
Plan to not be home. It’s loud, it starts early, and the vibration is significant all day. If you work from home, especially if you have virtual calls, strongly consider working somewhere else that day. Not being home is also another reason why on-site supervision from the company matters.
Move anything fragile near interior walls before work starts. Outside, clear items from around the foundation that the crew won’t already be covering. If you don’t have an exterior power outlet, have an extension cord plugged in inside and run out through a garage door, window, or mail slot before the crew arrives. If you have pets that stress easily, make arrangements for them.
When Are Materials Delivered, and Does It Matter?
Standard practice is to have materials delivered two days before the install. This gives time to verify the right product, right color, and right quantities arrived before the crew shows up. Catching a material mistake the day before is manageable. Catching it the morning of the install is much more difficult.
Some homes don’t have rooftop access for a supplier to stage materials up top. In those situations, materials get delivered to the ground the morning of the install so nothing sits unattended overnight. The crew hand loads as they work.
Worth knowing: a contractor using their own dump trailer instead of a roll-off is doing you a practical favor. Roll-offs can gouge driveways when they’re positioned. Dump trailers with rubber tires can be moved as needed and pulled off the property the same day the job is done.
What Should Happen on Installation Day?
Where Does the Crew Use the Restroom?
A professional crew should have a portable restroom on site, delivered the day before or the morning of the install. It’s more common than it should be to find roofing crews without one. Worth asking any contractor you’re considering.
Property Protection
Before any roofing work starts, the crew protects the property. Landscaping, flower beds, AC units, anything near the house that could be affected by falling debris gets covered or protected.
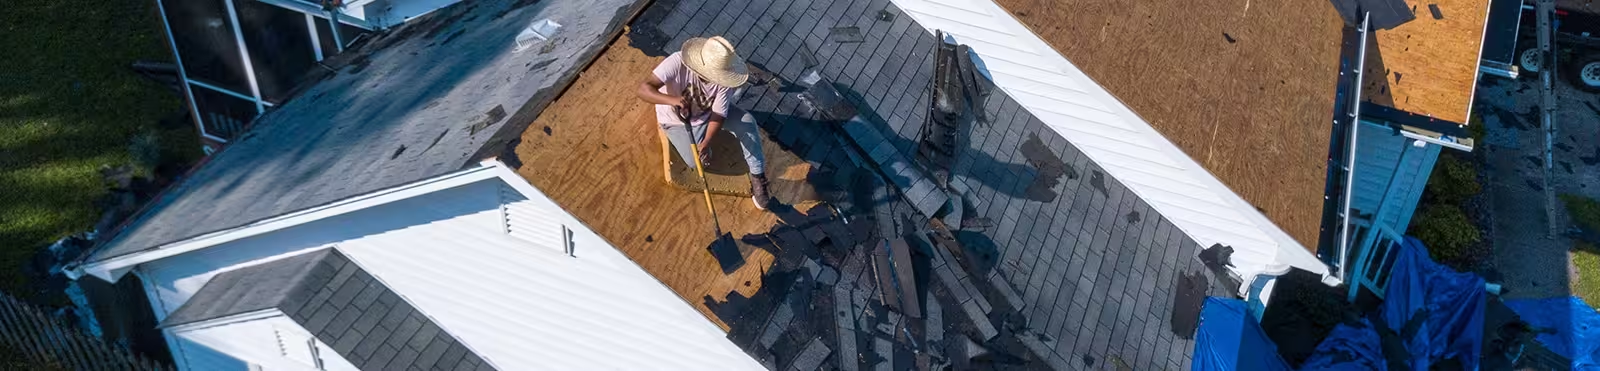
Tear-Off and Existing Roof Removal
Everything comes off down to the deck, including the existing underlayment. The one exception is peel-and-stick underlayment that can’t be cleanly removed. All roofing nails should be pulled from the deck as well. Any nail left behind can back out from vibration during the new install and eventually work up through the new roofing material from underneath. It takes longer to pull them. It’s worth it.
Our crews operate under OSHA 30 certified supervision. That’s a meaningful distinction from the basic OSHA 10 most contractors carry. For you as a property owner, it means the crew on your roof has been trained to recognized federal safety standards, which matters both for the people doing the work and for your liability if something goes wrong on your property.
Deck Inspection
Once the deck is exposed, it gets inspected for rot or damage before anything goes back on. If something is found, the construction manager documents it and reaches out with photos. Since the per-sheet replacement cost was established in your contract upfront, this is a confirmation, not a new conversation.
Ventilation Design Confirmation
The ventilation plan is developed before the project starts. On site, the construction manager confirms the actual attic configuration by pulling a few sheets of decking to see inside the attic. This allows the crew to verify that soffit vents aren’t blocked or undersized and to adjust the design if anything differs from what was planned. Each separate attic space needs to be ventilated independently. The actual ventilation products are cut in during or alongside field product installation and integrated within the roofing system.
See our Attic Ventilation Guide for a full explanation of how a properly designed system works.
Drip Edge
Drip edge is metal flashing installed around the entire perimeter of the roof. It directs water off the edge and away from the fascia board. Missing drip edge is the most common cause of fascia and soffit rot.
Underlayment and Ice and Water Shield
Underlayment goes down next. Ice and water shield requirements vary by city and municipality, but a good rule of thumb regardless of what code allows: ice and water shield should go in all valleys, around all penetrations, and 24 inches inside warm walls.
Field Product Installation
Starter goes on first, around the entire perimeter of the roof. Starter is what anchors the first course of field product and seals the edges. Once starter is in place, chalk lines are snapped across the deck to keep courses straight and prevent snaking as rows progress up the roof.
Field product is installed from the bottom up. Every roofing material has its own nailing requirements, including nail type, pattern, count, and placement, all defined by the manufacturer. Meeting those specs is what validates the warranty and achieves the wind rating the product is designed for. Some products require additional fastening above the manufacturer minimum to meet local wind requirements. For example, asphalt shingles typically require six nails per shingle in Colorado’s wind environment, even though many manufacturers allow as few as four. Every nail should hit the nail line, and guns should be calibrated correctly. Over-driven or under-driven nails affect both performance and warranty validity regardless of material.
Field product is installed to properly lace and integrate with all flashings and ventilation products. Any ventilation product on top of the roof is a penetration, and those areas have to be treated as such. Ice and water shield, correct product layout, and proper flashing are what keep those areas from becoming vulnerabilities.
New step flashing is interwoven between courses anywhere the roof meets a vertical surface. Old step flashing is not reused. Every penetration gets re-flashed with new components as the field product progresses. This has to be done to manufacturer specifications. There is no room for shortcuts here.
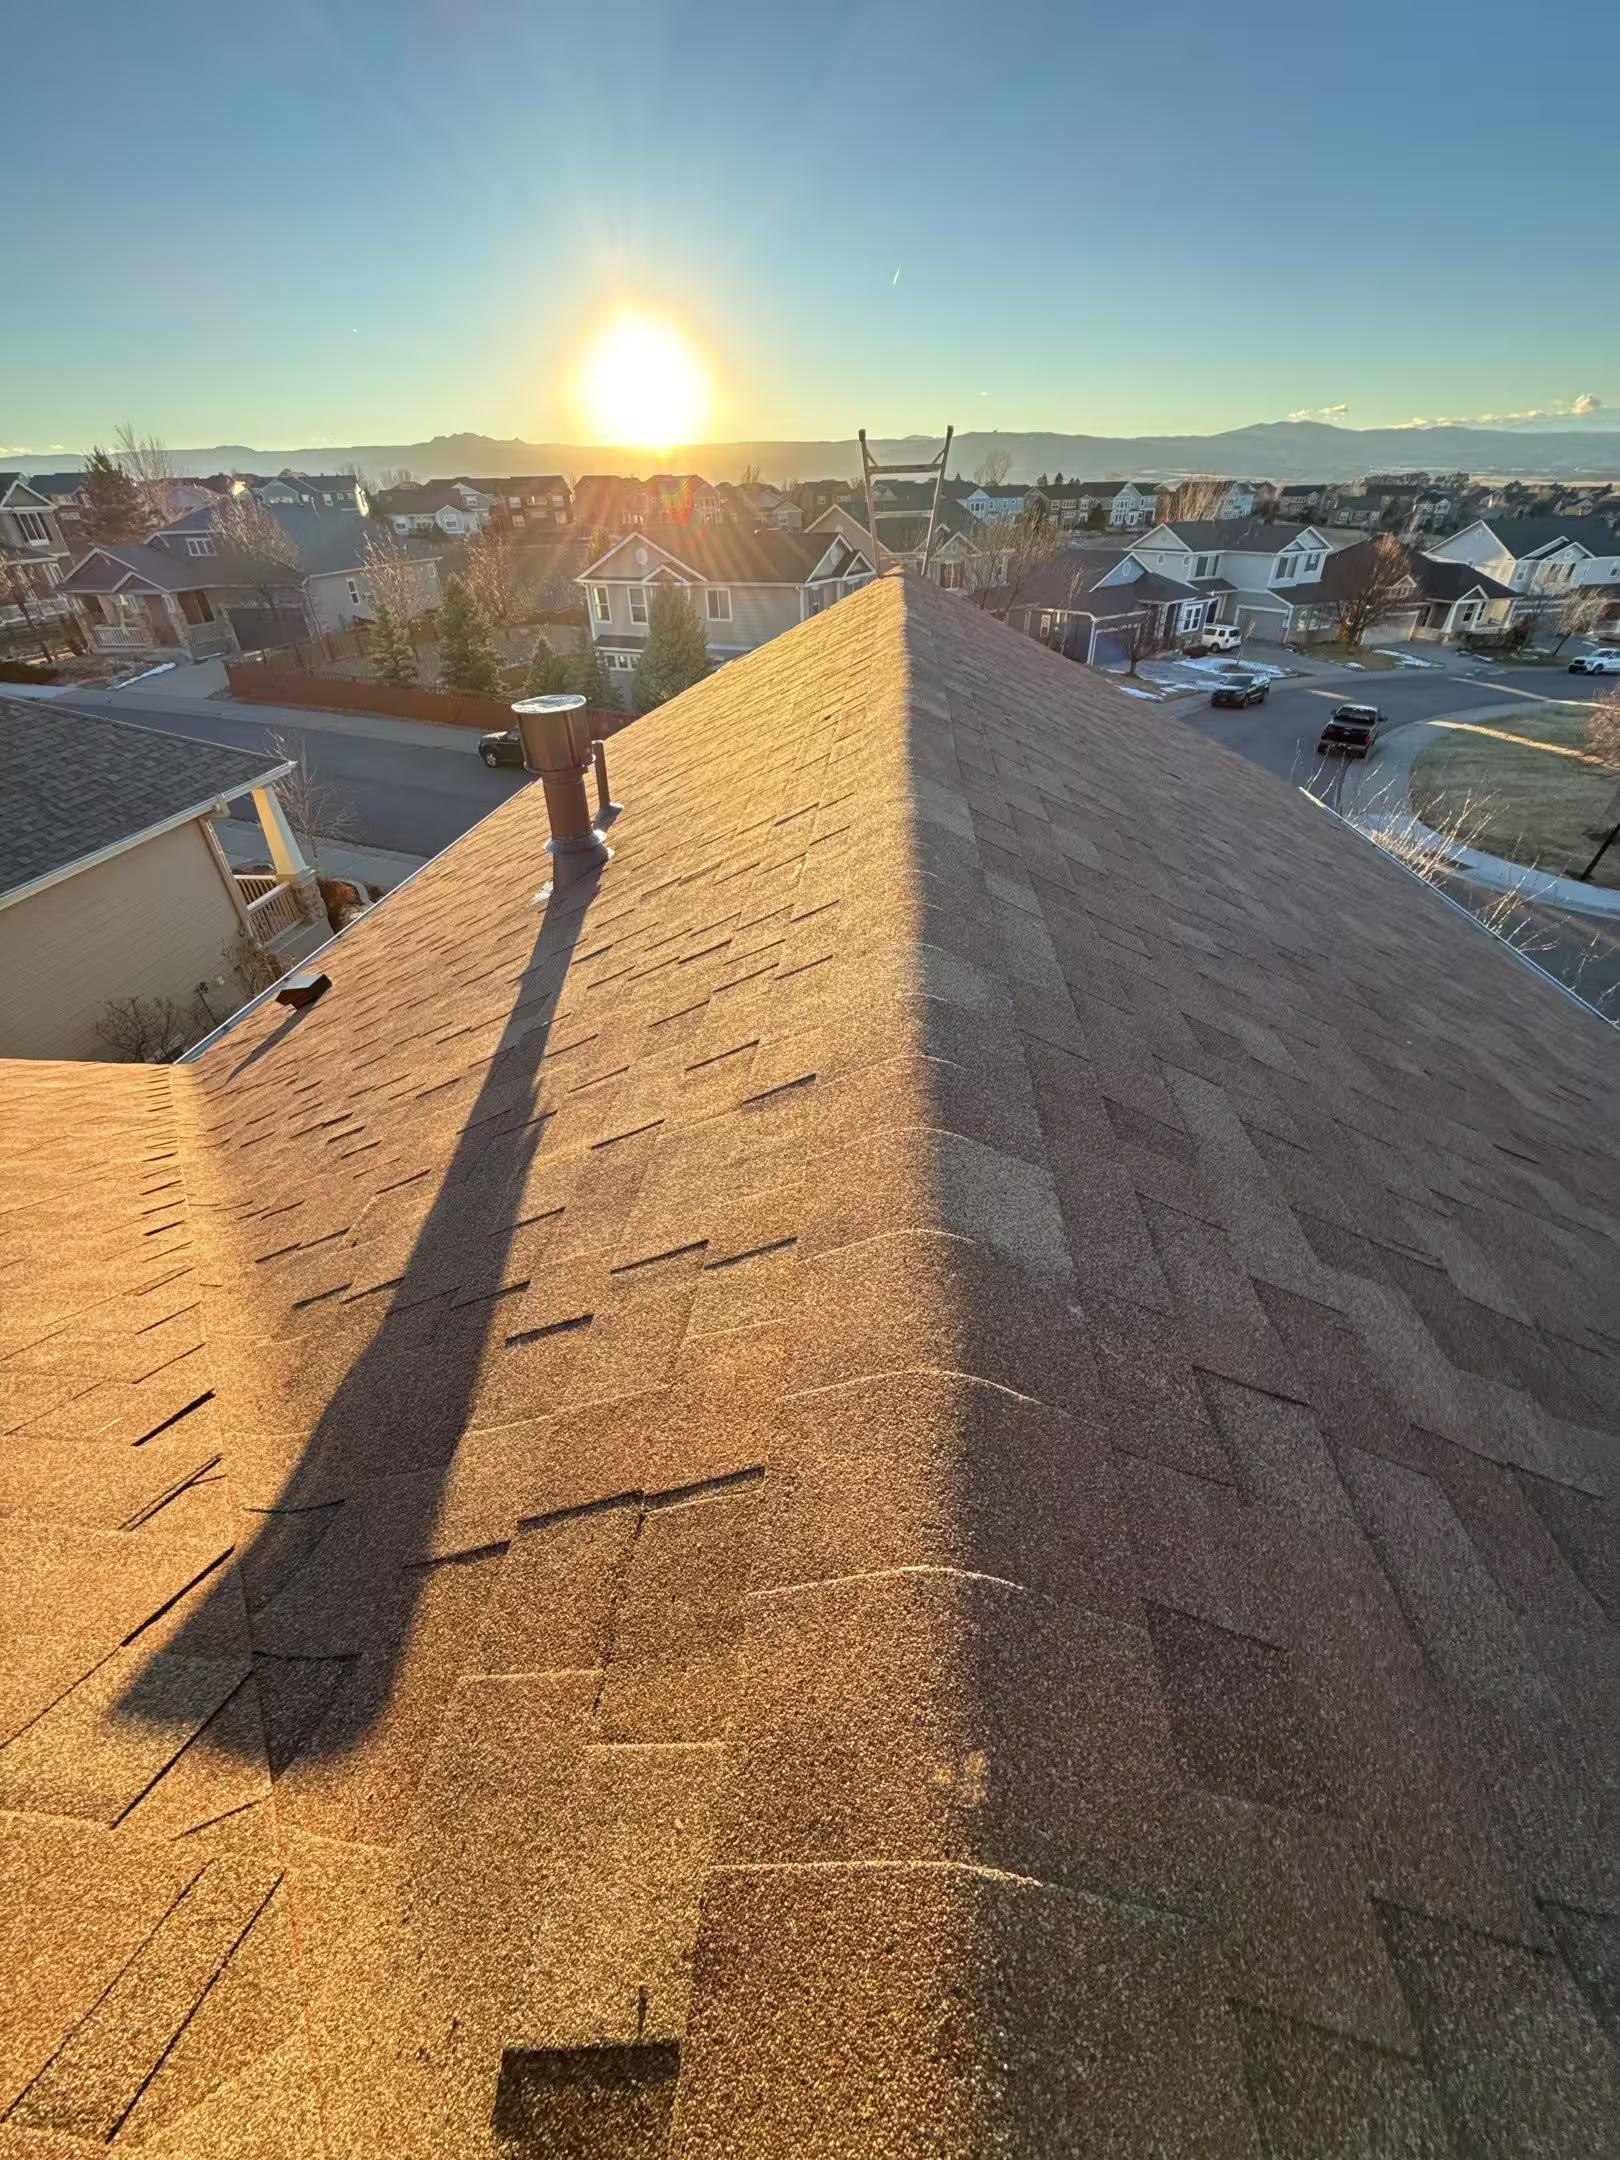
Ridge Cap
Ridge cap is installed starting from the side of the roof opposite the prevailing wind direction. In Colorado, where wind typically comes from the north and west, that means starting from the south and east ends of the ridge. This allows wind to travel up and over the ridge cap rather than against it, which protects against uplift and potential tear-off.
Finishing and Cleanup
All roof components get painted to match. Silicone is applied where it belongs. These finishing details are easy to skip. On a well-run project, they don’t get skipped.
A crew should be large enough to remove and replace at least 30 squares in a day. For asphalt replacement a 6-8+ person crew is typical for that scope. If two people show up, the roof is going to be open longer than it needs to be. For more specialty products like tile or synthetic composite, smaller crews are typical as these products require more installation expertise and you can expect these products to be installed at a slower rate.
Gutters and downspouts are cleaned out completely. The entire yard and driveway gets rolled with magnetic rollers at least twice. Driveways, walkways, and porches get blown off. Your property should look cleaner when the crew leaves than it did when they arrived.
Inspections
If a mid-roof inspection is required, the production team coordinates it and the construction manager is on site to meet the inspector during the field product phase. Once the project is complete, a final inspection gets called in. Ladders are left tied off to the roof so the inspector has safe access.
Note: Tile and stone-coated steel installations follow a modified sequence that includes a batten system installed after underlayment and before the field product. These materials also almost always require a mid-roof inspection.
What Should I Receive When the Project Is Complete?
After final payment, your contractor should provide a workmanship warranty and a lien waiver confirming that all materials and subcontractors have been paid. The lien waiver matters because without it, unpaid suppliers or subs can place a lien on your property even after you’ve paid the contractor in full. Any manufacturer warranties should be registered at this point as well.
Our Roof Warranty Guide explains all three warranty layers and what each one covers.
A well-run roof replacement is mostly uneventful. The problems homeowners run into almost always trace back to a step that got skipped. Knowing what the process should look like is the only way to know whether it is.
Still deciding between repair and replacement? Our Roof Repair vs. Replacement Guide can help you think through that first.
Frequently Asked Questions
What should happen during the initial consultation?
A contractor should ask questions about your situation before anything else. The goal is to understand what you need, not just what your roof looks like. Are you staying in the home or selling? Any comfort issues or past leaks? The answers shape what options actually make sense.
How long does a roof replacement take in Colorado?
Most standard replacements on a single-family home are completed in one day. Two days per 30 squares is the benchmark for larger or more complex projects. Specialty materials like tile, stone-coated steel, and standing seam take longer and require more skilled crews. Mountain projects may vary depending on access and weather.
Do I need to be home on installation day?
You don’t need to be there, but you should be reachable. If the crew finds damaged decking, the construction manager will reach out with documentation before anything additional is done. The per-sheet cost should already be established in your contract.
Why does every roofing nail need to be pulled during tear-off?
Any nail left in the deck can back out over time from vibration during the new installation. Eventually it can work up through the new roofing material from underneath. It takes longer to pull them all. It’s worth it.
What is a lien waiver and why does it matter?
A lien waiver is a document from your contractor confirming that all suppliers and subcontractors involved in your project have been paid. Without it, a supplier or sub that wasn’t paid could place a lien on your property, even though you paid your contractor in full. It’s standard on a well-run project and worth asking for if it isn’t offered at completion.
Disclosure: The information in this article is for general educational purposes only and is not intended as legal advice, insurance advice, or public adjusting services. Insurance policies are contracts between the homeowner and the insurance carrier, and coverage determinations are made solely by the carrier based on the terms of the policy. Homeowners should consult their insurance agent, insurance carrier, or legal counsel with specific questions regarding coverage or claims. Contractors do not interpret policy language or determine coverage.